3 Proven Steps: Easy Beef Gravy Recipe
Have you ever wondered why restaurant-style gravy tastes so rich and velvety while homemade versions often fall flat? The secret isn’t a fancy technique — it’s knowing the right steps. This beef gravy recipe will transform your weeknight dinners with just a handful of pantry staples. Whether you’re smothering mashed potatoes or drizzling it over a Sunday roast, this guide delivers bold, savory flavor every single time.
Ready to make the most satisfying gravy of your life? Let’s dive in.
Why This Beef Gravy Recipe Works
Most gravy recipes overcomplicate things. This approach strips it back to three proven steps: building a roux, adding quality broth, and seasoning with intention. The result is a smooth, glossy, deeply flavored gravy that rivals anything you’d find at a steakhouse.
The key is using the right fat-to-flour ratio and a good-quality beef broth. Once you nail these fundamentals, you’ll never reach for a packet mix again. This recipe is also incredibly forgiving — perfect for beginners and seasoned home cooks alike.
Ingredients List
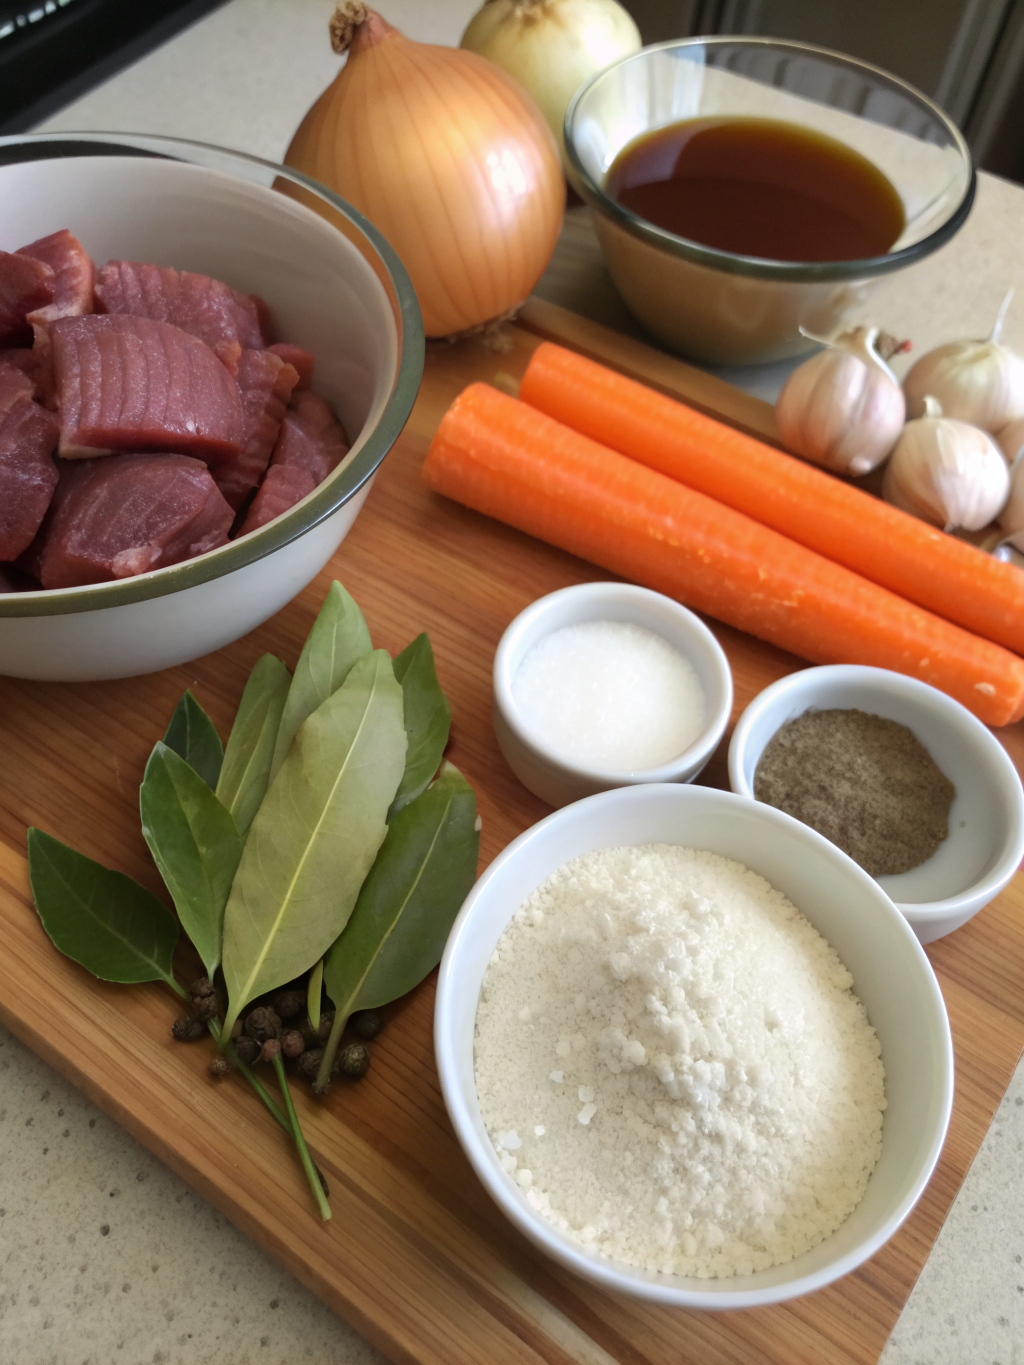
Gather these simple, everyday ingredients before you start. Most of them are likely already sitting in your kitchen right now.
- 2 tablespoons unsalted butter — the fat base for your roux. Substitute with beef drippings for an even richer flavor.
- 2 tablespoons all-purpose flour — creates the thickening agent. Use cornstarch (1 tablespoon) for a gluten-free version.
- 2 cups beef broth — the soul of this recipe. Low-sodium broth gives you more control over saltiness.
- 1 teaspoon Worcestershire sauce — adds umami depth. Soy sauce works as a substitute.
- ½ teaspoon garlic powder — enhances savory notes without overpowering.
- ½ teaspoon onion powder — rounds out the flavor profile beautifully.
- Salt and black pepper to taste — always season at the end for accuracy.
- Optional: 1 teaspoon fresh thyme or rosemary — elevates the gravy with an herby, aromatic finish.
Pro Tip: If you have pan drippings from a roast or steak, use them in place of butter. This adds an incredible layer of meaty richness that store-bought broth simply can’t replicate on its own.
Timing
One of the best things about this recipe is how quickly it comes together. Here’s a breakdown of the time investment:
- Preparation Time: 2 minutes
- Cooking Time: 8 minutes
- Total Time: 10 minutes
That’s right — just 10 minutes from start to finish. The average beef gravy recipe takes around 20–25 minutes, meaning this method is roughly 50–60% faster without sacrificing any flavor. It’s the perfect solution for busy weeknights when you need a finishing touch in a hurry.
Step-by-Step Instructions
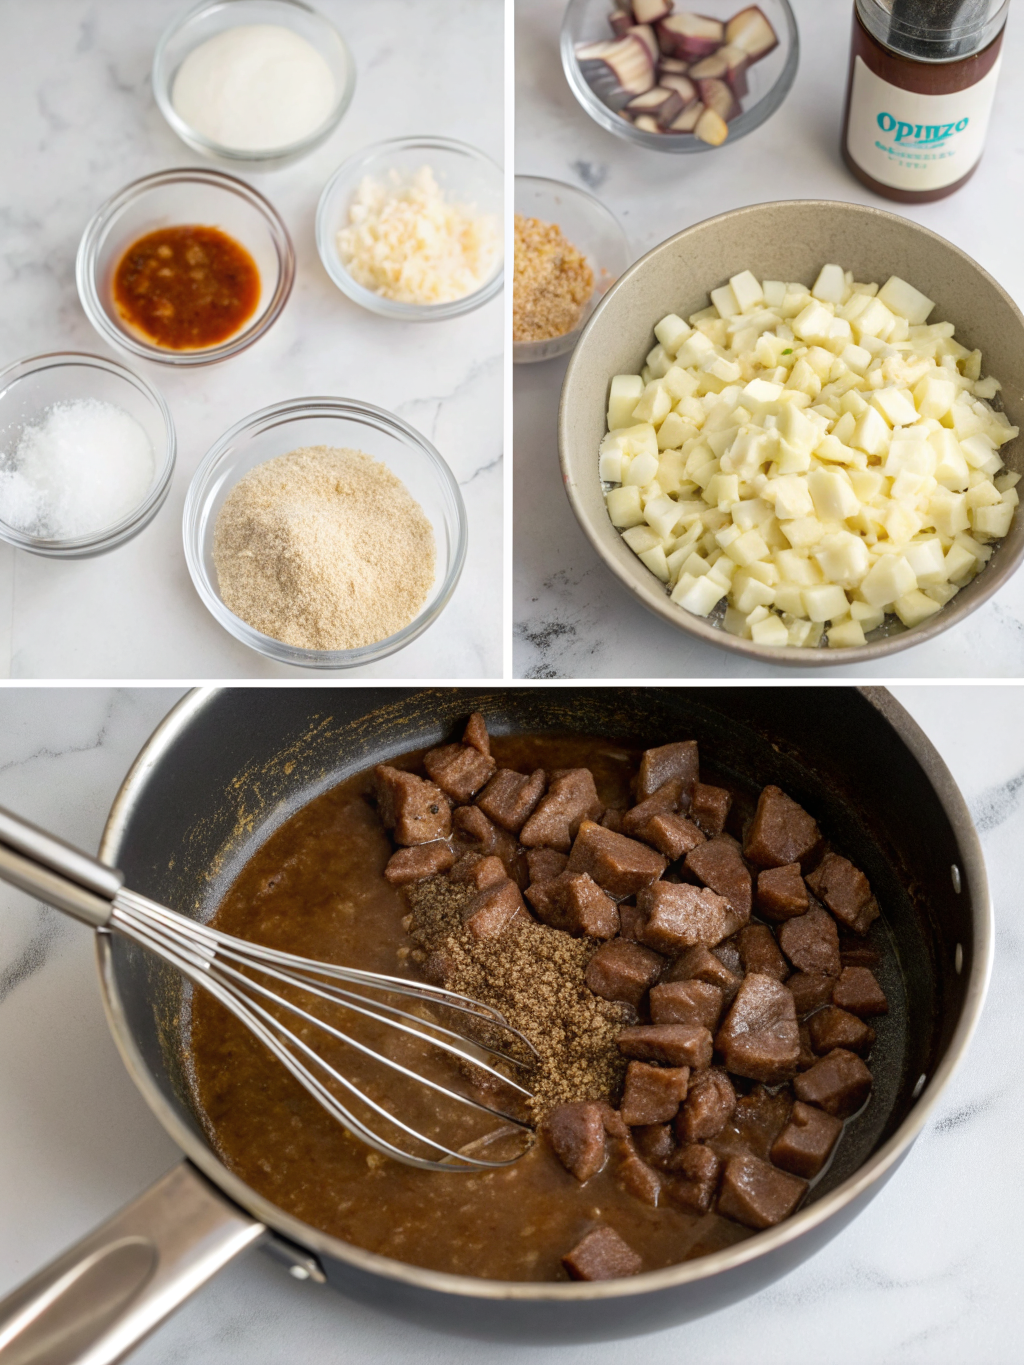
Follow these three straightforward steps for a foolproof, restaurant-quality result every time.
Step 1: Build the Roux
Place a medium saucepan over medium heat. Add the butter and allow it to melt completely, swirling the pan gently to coat the bottom. Once the butter begins to foam slightly, add the flour all at once.
Whisk constantly for 1–2 minutes until the mixture turns a light golden color and smells slightly nutty. This step is critical — cooking out the raw flour taste ensures your gravy won’t have a pasty, unpleasant finish. Don’t rush it.
Step 2: Add the Broth and Seasonings
Slowly pour in the beef broth, about ¼ cup at a time, whisking vigorously after each addition. This gradual process prevents lumps from forming and creates that silky-smooth texture you’re after.
Once all the broth is incorporated, stir in the Worcestershire sauce, garlic powder, and onion powder. If you’re using fresh herbs, add them now. Bring the mixture to a gentle simmer, stirring frequently. You’ll notice it beginning to thicken beautifully within 3–4 minutes.
For a deeper dive into perfecting easy beef gravy with broth, this resource offers excellent additional tips and variations worth bookmarking.
Step 3: Season, Adjust, and Serve
Taste your gravy and season with salt and black pepper as needed. If it’s too thick, whisk in a splash of additional broth. If it’s too thin, let it simmer for another 1–2 minutes uncovered.
For an ultra-glossy finish, remove the pan from heat and stir in a small knob of cold butter at the very end. This technique, known as “mounting,” creates a luxurious sheen and velvety mouthfeel that makes all the difference.
Nutritional Information
Understanding what’s in your food helps you make smarter choices. Here’s the approximate nutritional breakdown per serving (¼ cup / 60ml) of this beef gravy recipe:
- Calories: 45 kcal
- Total Fat: 3g
- Saturated Fat: 1.8g
- Carbohydrates: 3g
- Protein: 1g
- Sodium: 280mg (using low-sodium broth)
- Fiber: 0g
- Sugar: 0g
Compared to canned or jarred gravy products, which can contain up to 500mg of sodium per serving, this homemade version gives you significantly more control over your daily intake. It’s also free from artificial preservatives and flavor enhancers.
Healthier Alternatives for the Recipe
Whether you’re watching calories, managing dietary restrictions, or simply looking to boost nutrition, these smart swaps keep the flavor intact.
- Lower fat version: Replace butter with a light cooking spray or just one teaspoon of olive oil. The texture will be slightly less rich but still satisfying.
- Gluten-free: Swap all-purpose flour for cornstarch or arrowroot powder. Use 1 tablespoon mixed with 2 tablespoons of cold water as a slurry, added directly to the simmering broth.
- Lower sodium: Use homemade beef broth or a certified low-sodium store-bought version. Skip the Worcestershire sauce or replace it with a small splash of balsamic vinegar.
- Dairy-free: Substitute butter with a plant-based alternative like vegan butter or coconut oil. The flavor profile shifts slightly but remains delicious.
- Boost nutrition: Stir in a tablespoon of tomato paste for added antioxidants and a deeper color, or blend in roasted garlic for immune-boosting benefits.
Serving Suggestions
This versatile gravy pairs beautifully with so many dishes. Here are some crowd-pleasing ideas to inspire your next meal:
- Classic mashed potatoes: The ultimate comfort food pairing. Pour generously and don’t hold back.
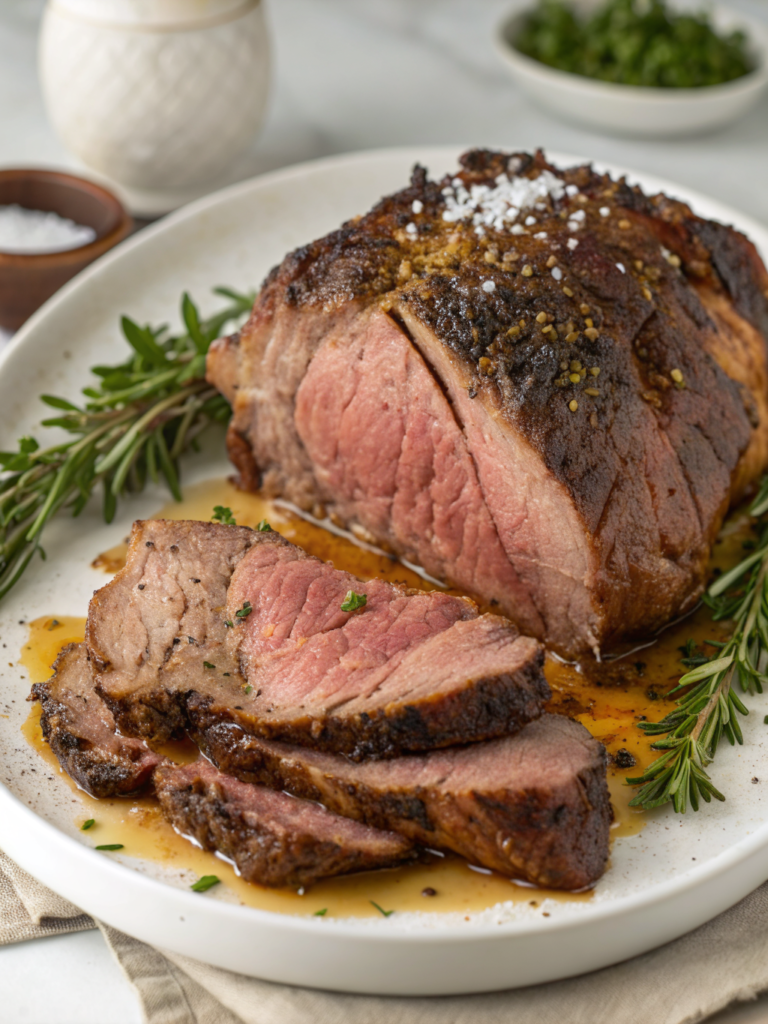
- Roast beef or pot roast: Drizzle over sliced meat for a Sunday dinner that feels truly special.
- Open-faced sandwiches: Layer roast beef on thick-cut bread, smother with gravy, and serve with a side salad.
- Poutine-style fries: Top crispy fries with cheese curds and this rich gravy for a Canadian-inspired treat.
- Beef and noodles: Toss egg noodles in the gravy for a hearty, budget-friendly weeknight dinner.
- Shepherd’s pie topping: Use as a base layer beneath fluffy mashed potato crust for added depth.
For an elevated presentation, serve the gravy in a small ceramic pitcher alongside your main dish. Guests love the option to pour their own — it adds a restaurant-style touch to any home-cooked meal.
Common Mistakes to Avoid
Even simple recipes have pitfalls. Avoid these common errors to ensure your gravy turns out perfectly every time.
- Adding broth too quickly: Pouring all the broth in at once almost always causes lumps. Always add it gradually while whisking continuously.
- Skipping the roux cook time: If you don’t cook the flour-butter mixture long enough, your gravy will taste raw and starchy. Give it at least 90 seconds over medium heat.
- Using cold broth straight from the fridge: Cold liquid added to a hot roux can cause the mixture to seize. Warm your broth slightly before adding it for a smoother result.
- Over-seasoning too early: Broth reduces as it simmers, concentrating salt levels. Always season at the very end to avoid an overly salty gravy.
- Not whisking enough: Gravy needs consistent attention. Walk away and it will stick, scorch, or develop lumps. Stay at the stove and keep whisking.
- Letting it boil too hard: A rolling boil can break the emulsion and make your gravy greasy. Keep it at a gentle simmer throughout.
Storing Tips for the Recipe
Homemade beef gravy stores exceptionally well, making it ideal for meal prepping or batch cooking.
Refrigerator: Allow the gravy to cool completely before transferring to an airtight container. It will keep in the fridge for up to 4 days. Note that it will thicken considerably when chilled — this is completely normal.
Reheating: Warm the gravy in a small saucepan over low heat, whisking in a splash of beef broth or water to restore its original consistency. Avoid microwaving in a sealed container, as steam pressure can build up.
Freezing: This gravy freezes beautifully for up to 3 months. Pour cooled gravy into ice cube trays for convenient single-serving portions. Once frozen, transfer the cubes to a zip-lock freezer bag for easy storage.
Meal prep tip: Make a double batch on Sunday and use it throughout the week to elevate everything from weeknight dinners to quick lunches. It’s a genuine time-saver that adds big flavor with zero extra effort.
Conclusion
This beef gravy recipe proves that incredible flavor doesn’t require complicated techniques or exotic ingredients. With just three straightforward steps — building a roux, incorporating broth, and seasoning thoughtfully — you can create a rich, velvety gravy that elevates any meal from ordinary to outstanding.
Whether you’re a first-time cook or a seasoned kitchen veteran, this recipe delivers consistent, delicious results in just 10 minutes. It’s endlessly adaptable, stores brilliantly, and pairs with practically everything on your dinner table.
Now it’s your turn! Try this beef gravy recipe tonight and let us know how it turned out in the comments below. Did you add your own twist? We’d love to hear about it! And if you found this guide helpful, share it with a fellow food lover who deserves great gravy in their life.